CKB:Configuring Logical Volume Manager (LVM): Unterschied zwischen den Versionen
(Imported from text file) |
Keine Bearbeitungszusammenfassung |
||
| (2 dazwischenliegende Versionen von 2 Benutzern werden nicht angezeigt) | |||
| Zeile 9: | Zeile 9: | ||
== Solution: == | == Solution: == | ||
1. log in as '''root''' on your appliance | |||
''' | 2. run the command '''yast ''' | ||
3. navigate to '''System → Partitioner''' and press '''Enter''' | |||
[[File:74384686.png]] | [[File:74384686.png]] | ||
4. press '''Enter''' to agree the Warning | |||
[[File:74384688.png]] | [[File:74384688.png]] | ||
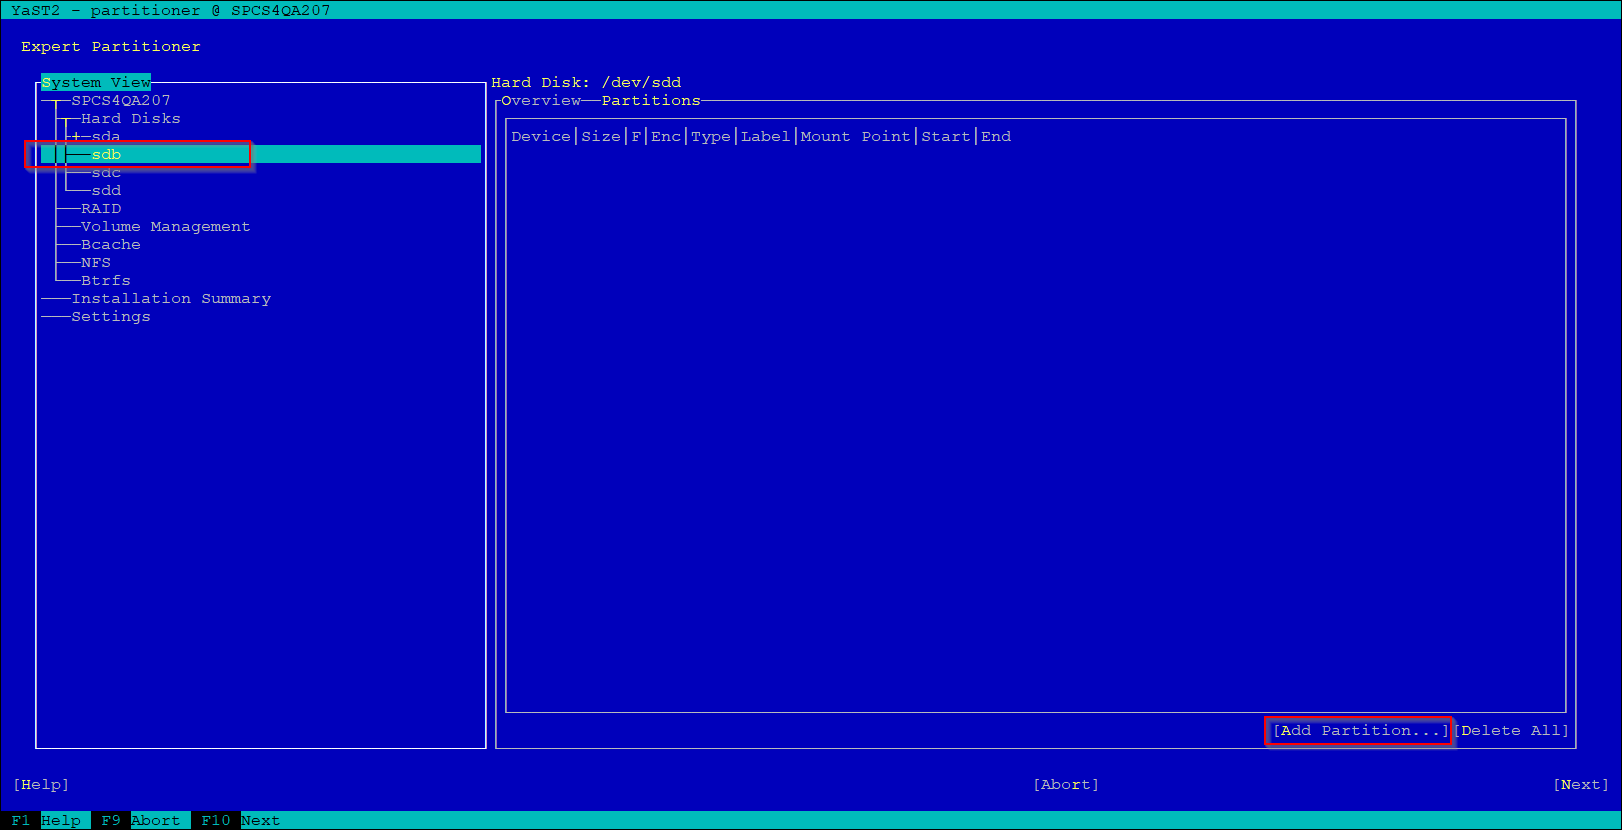
5. navigate to virtual disk which will be used for LVM | |||
[[File:74384692.png]] | [[File:74384692.png]] | ||
6. add new partition as '''Raw Volume (unformatted)''' | |||
[[File:74384695.png]][[File:74384696.png]] | [[File:74384695.png]][[File:74384696.png]] | ||
7. do not format device and select '''Linux LVM''' as Partition ID | |||
[[File:74384698.png]] | [[File:74384698.png]] | ||
8. repeat steps 5, 6 and 7 for all disks which will be used for LVM | |||
9. navigate to '''Volume Management''' and create new Volume Group | |||
[[File:74384699.png]] | [[File:74384699.png]] | ||
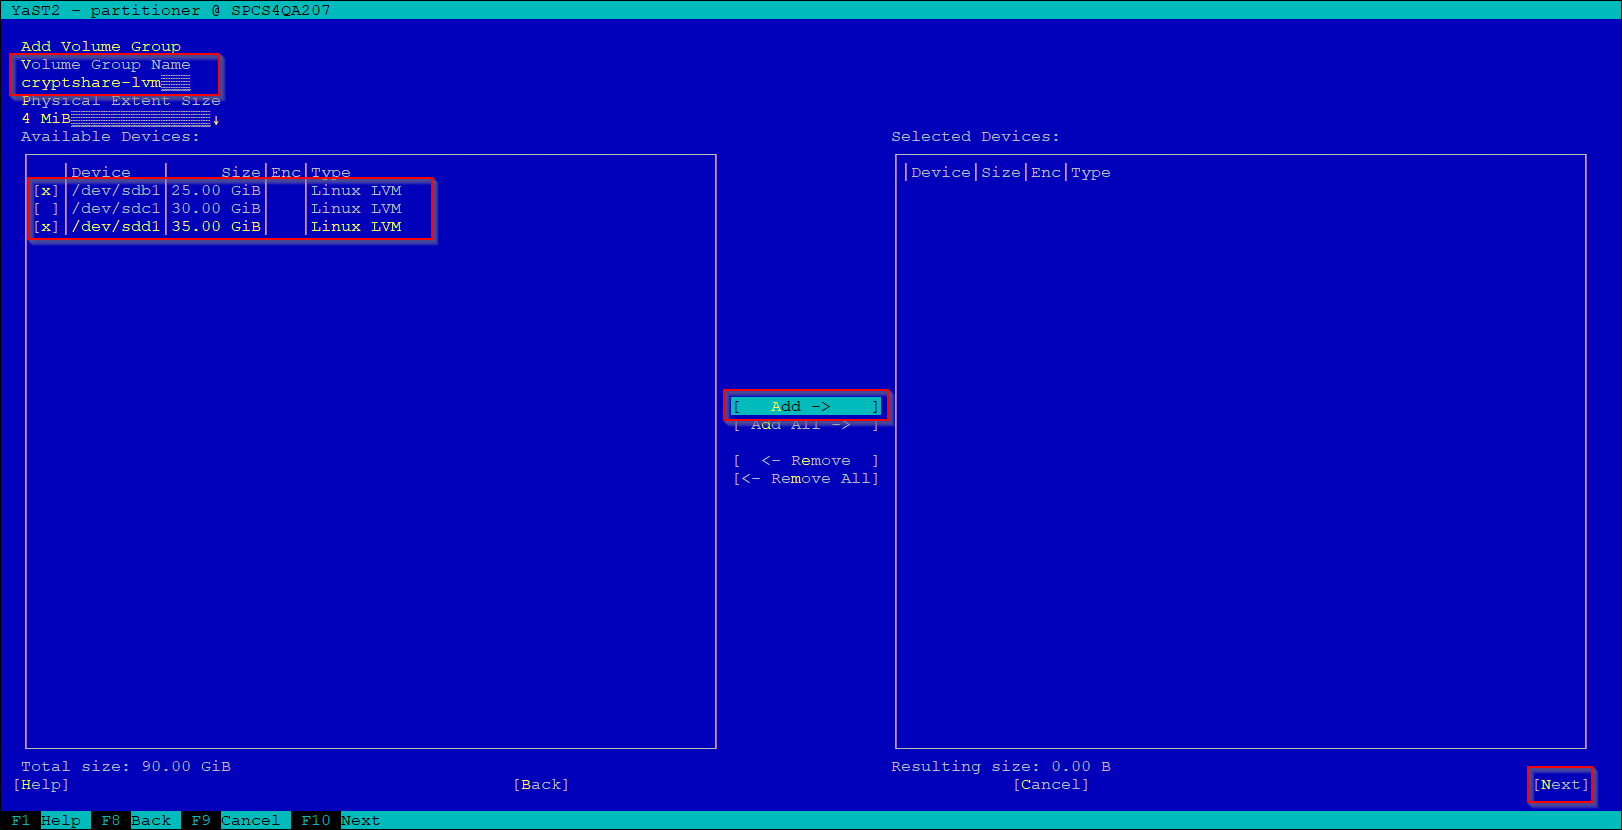
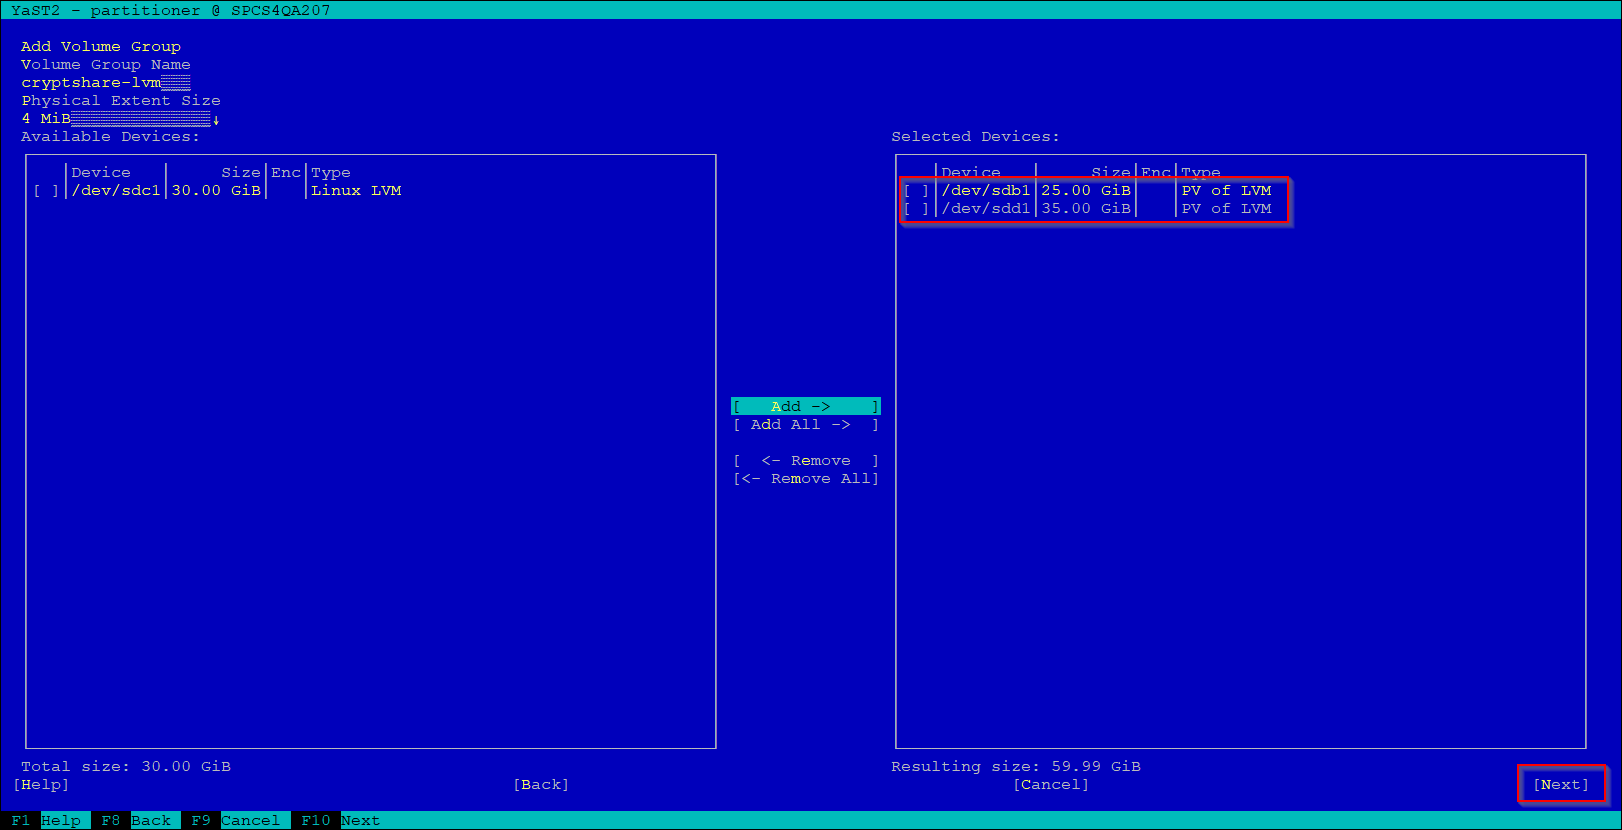
enter the volume name, select and add previously configured disks | 10. enter the volume name, select and add previously configured disks | ||
[[File:74384700.png]][[File:74384701.png]] | [[File:74384700.png]][[File:74384701.png]] | ||
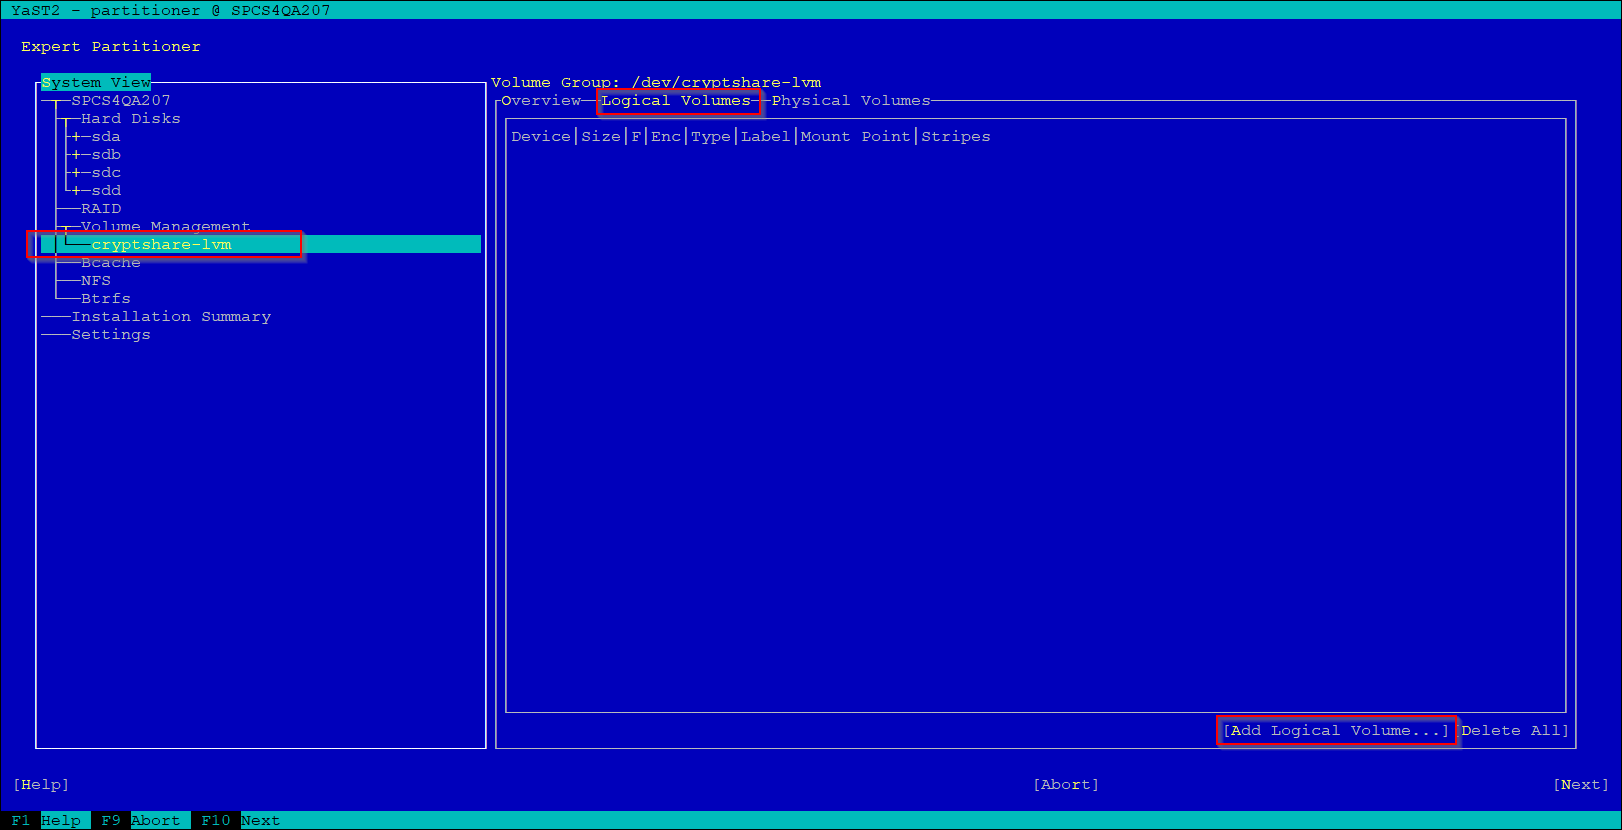
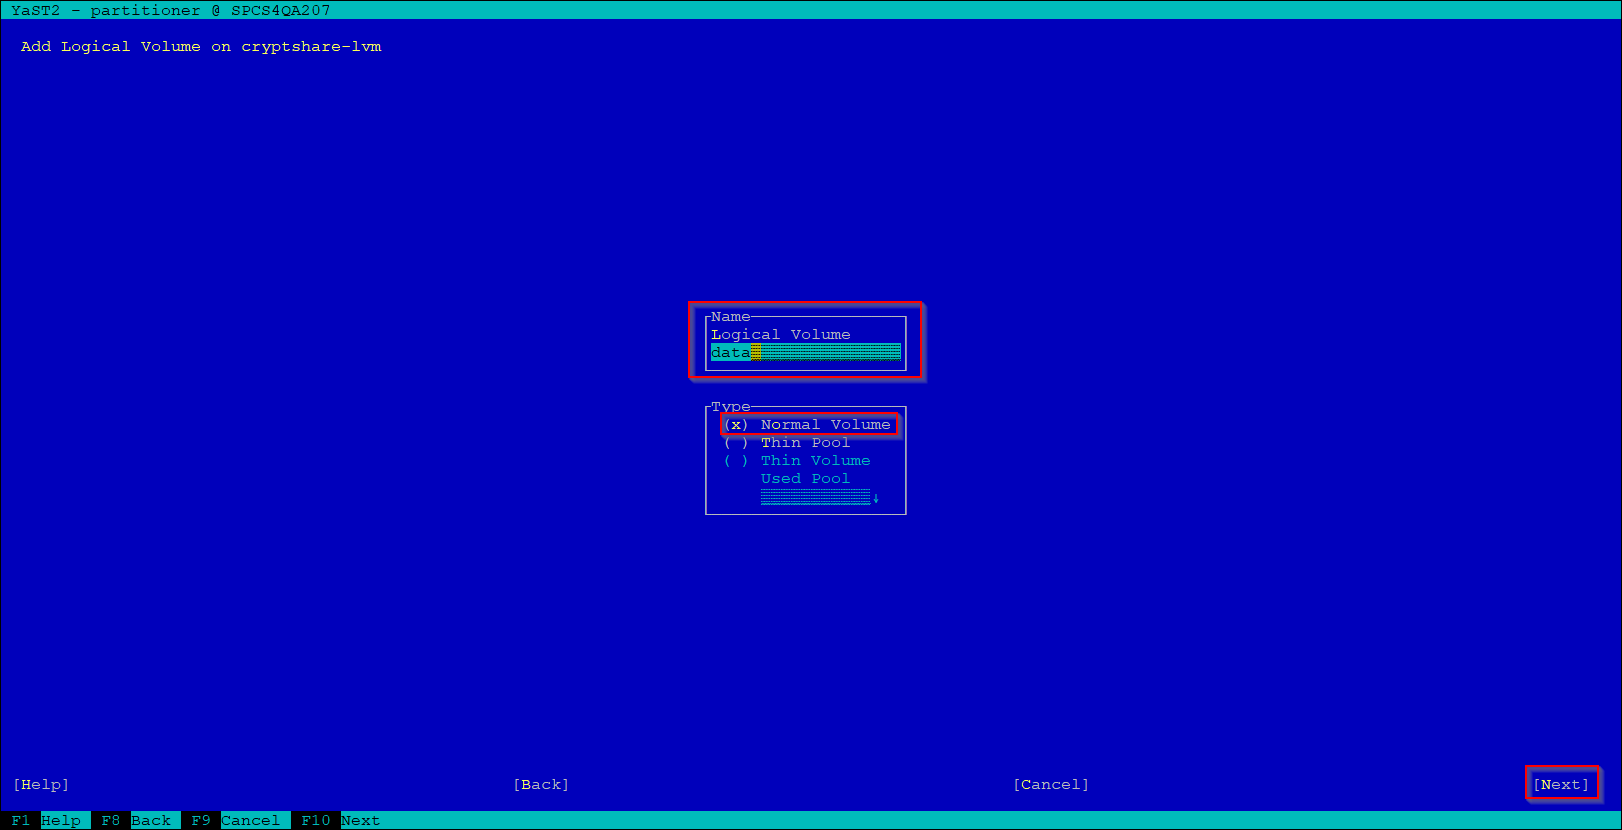
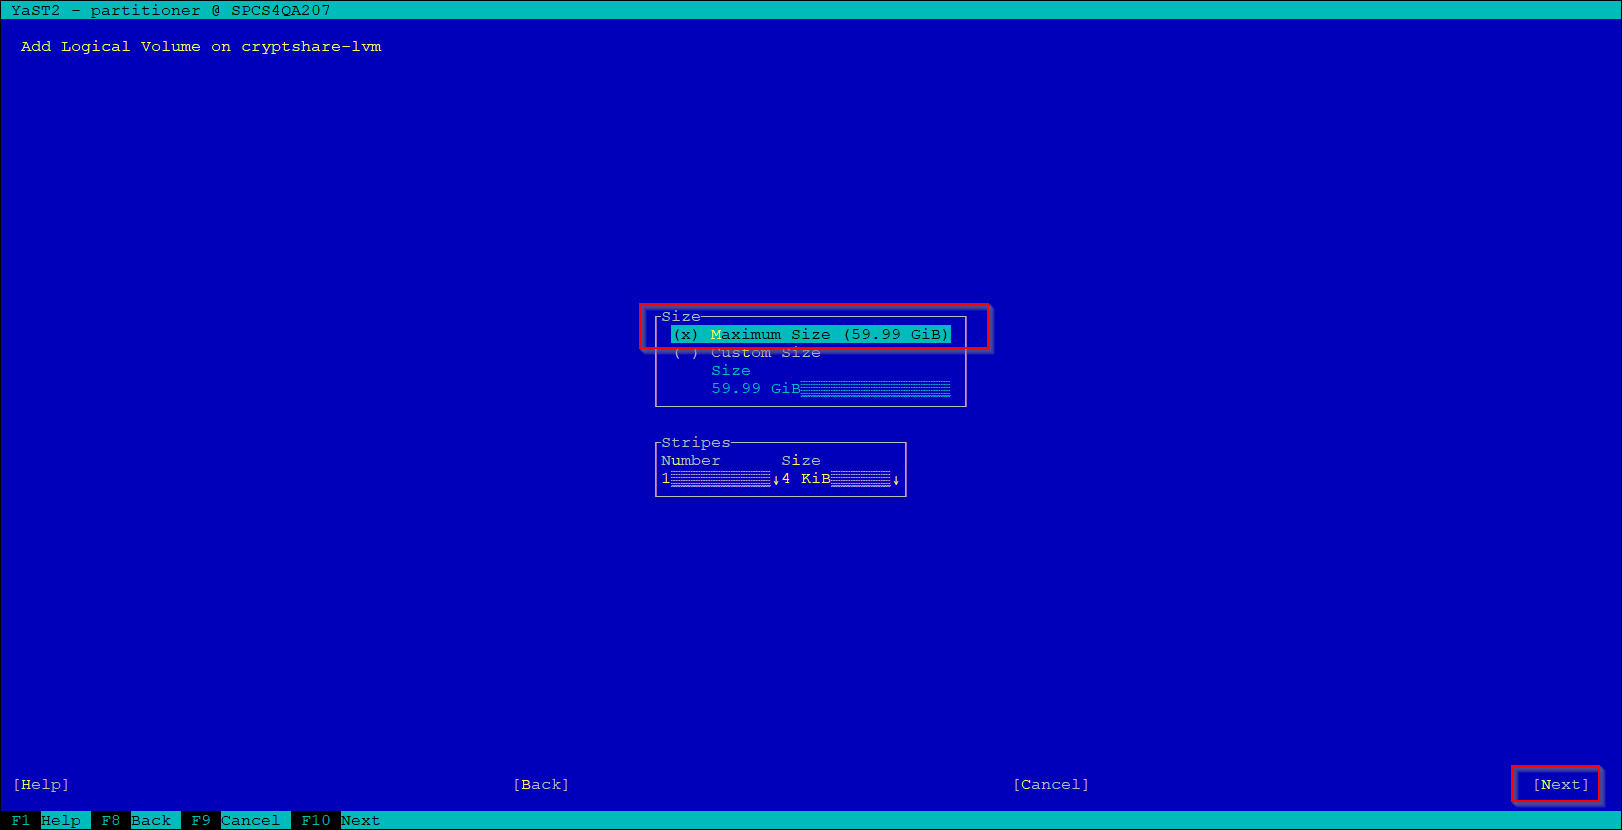
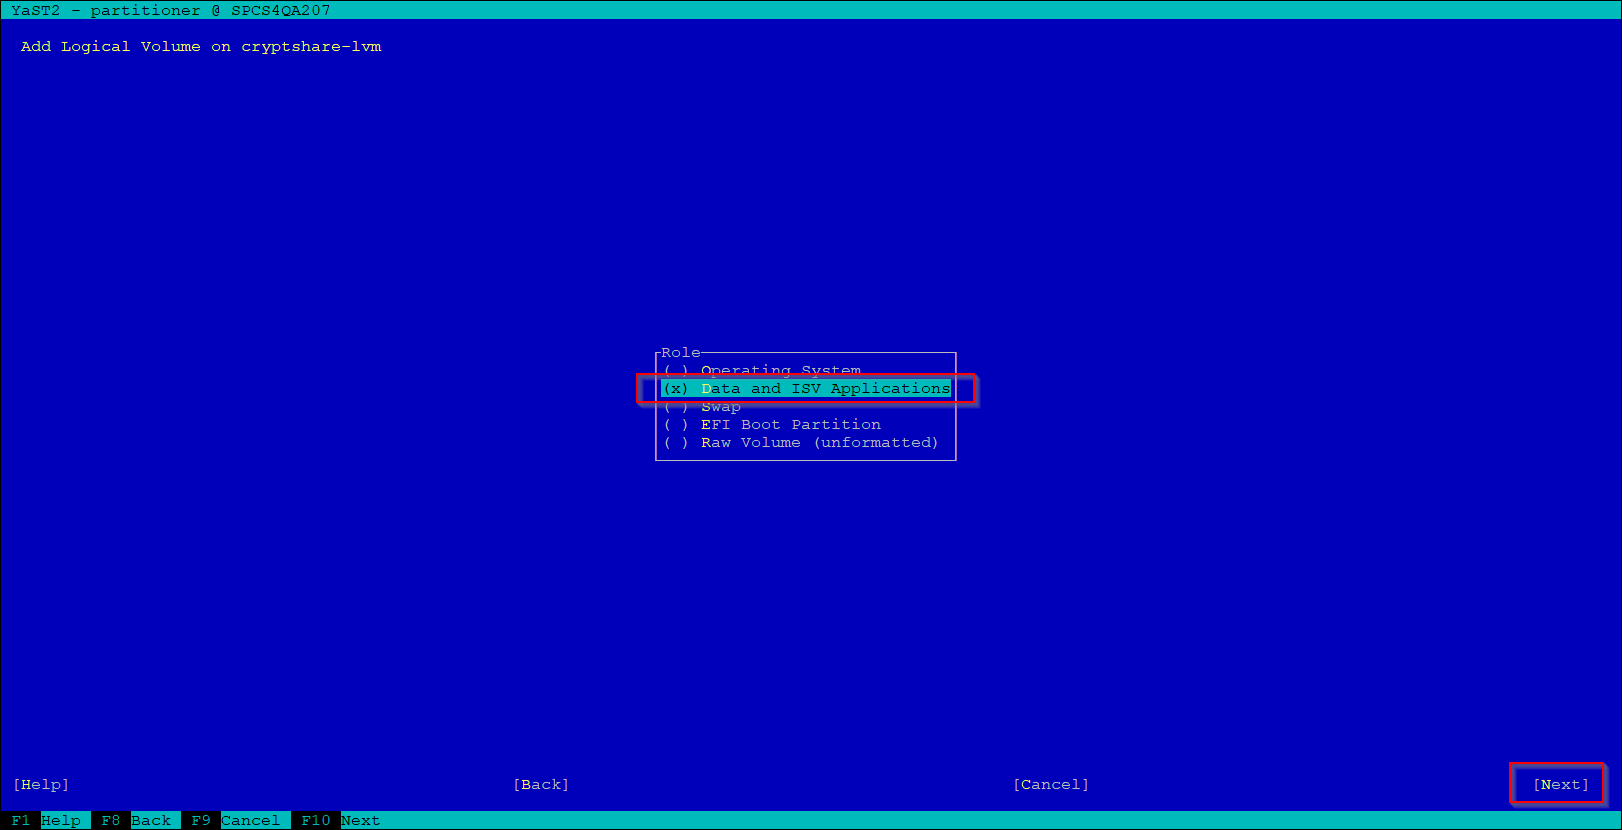
11. create new Logical Volume on the volume group | |||
[[File:74384702.png]][[File:74384703.png]][[File:74384704.png]][[File:74384705.png]] | [[File:74384702.png]][[File:74384703.png]][[File:74384704.png]][[File:74384705.png]] | ||
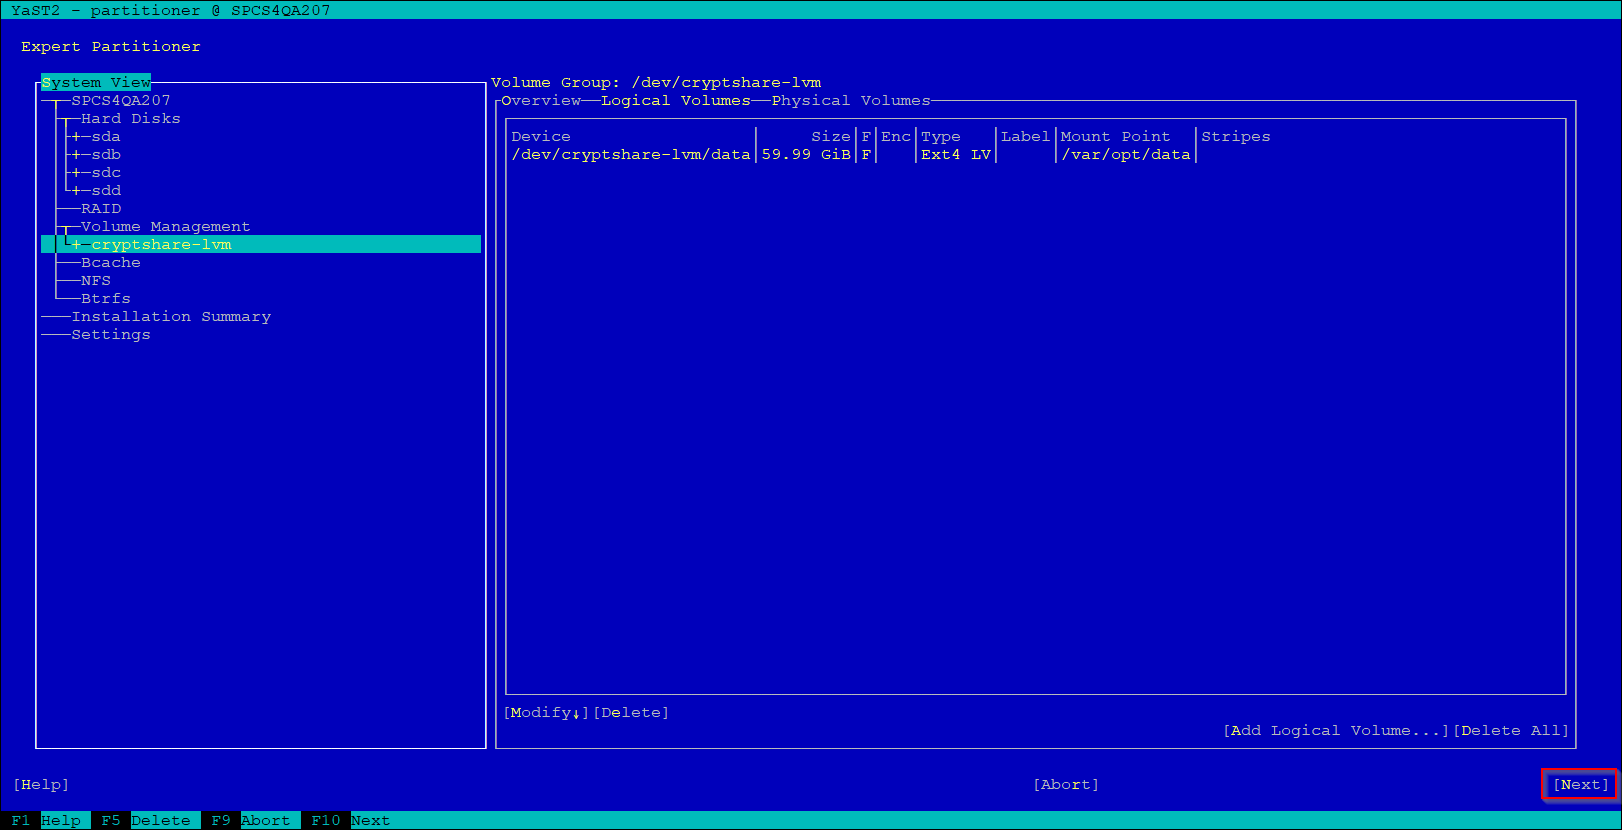
format the volume e.g. as EXT4 and add a mount point you prefer, e.g. /var/opt/data | |||
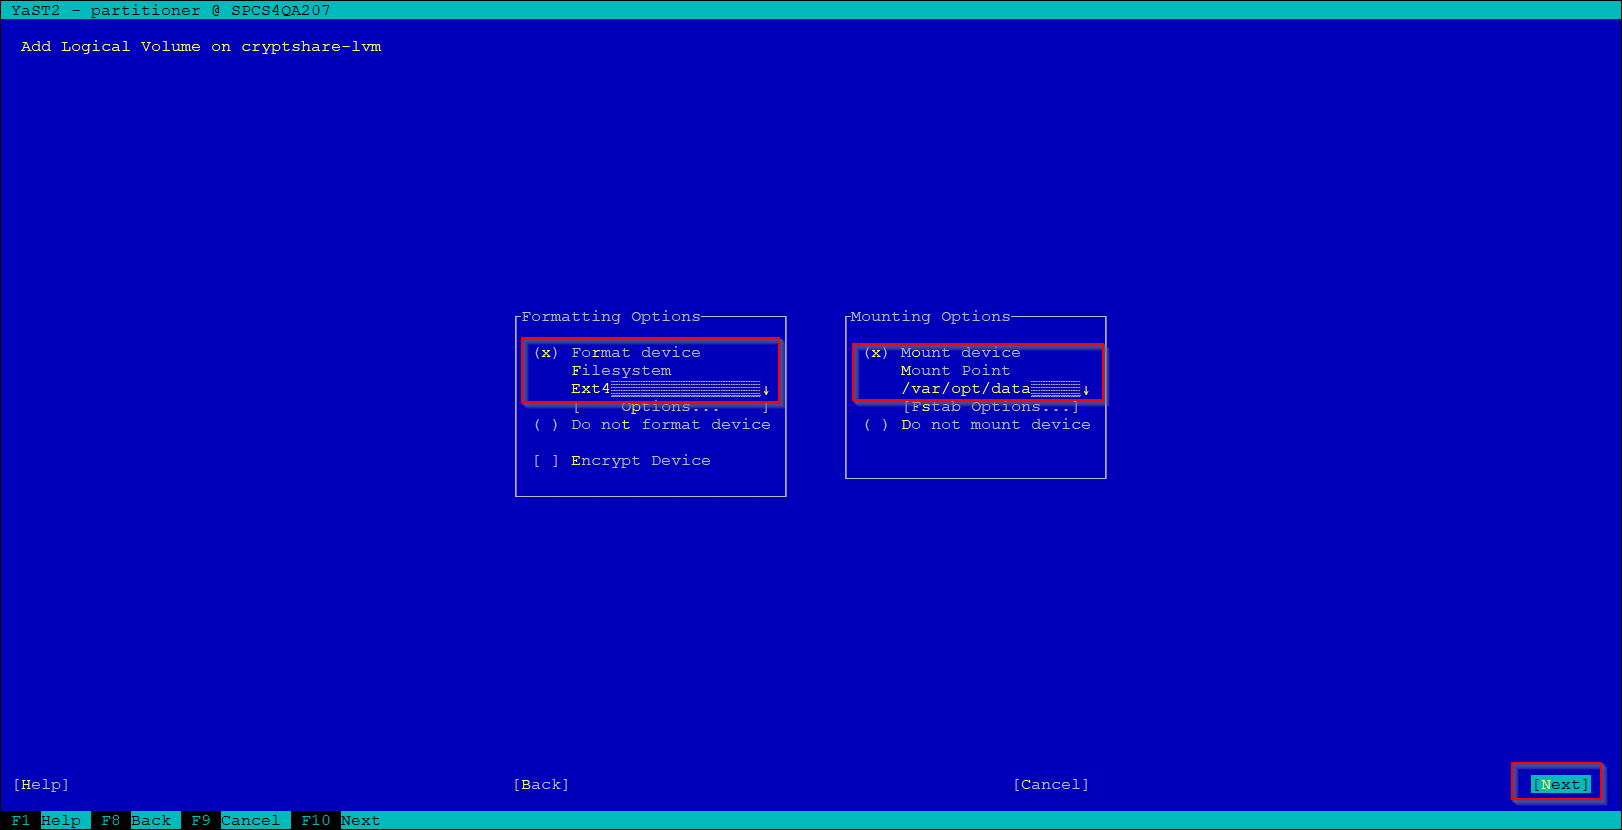
12. format the volume e.g. as EXT4 and add a mount point you prefer, e.g. /var/opt/data | |||
[[File:74384706.png]][[File:74384707.png]][[File:74384708.png]][[File:74384709.png]] | [[File:74384706.png]][[File:74384707.png]][[File:74384708.png]][[File:74384709.png]] | ||
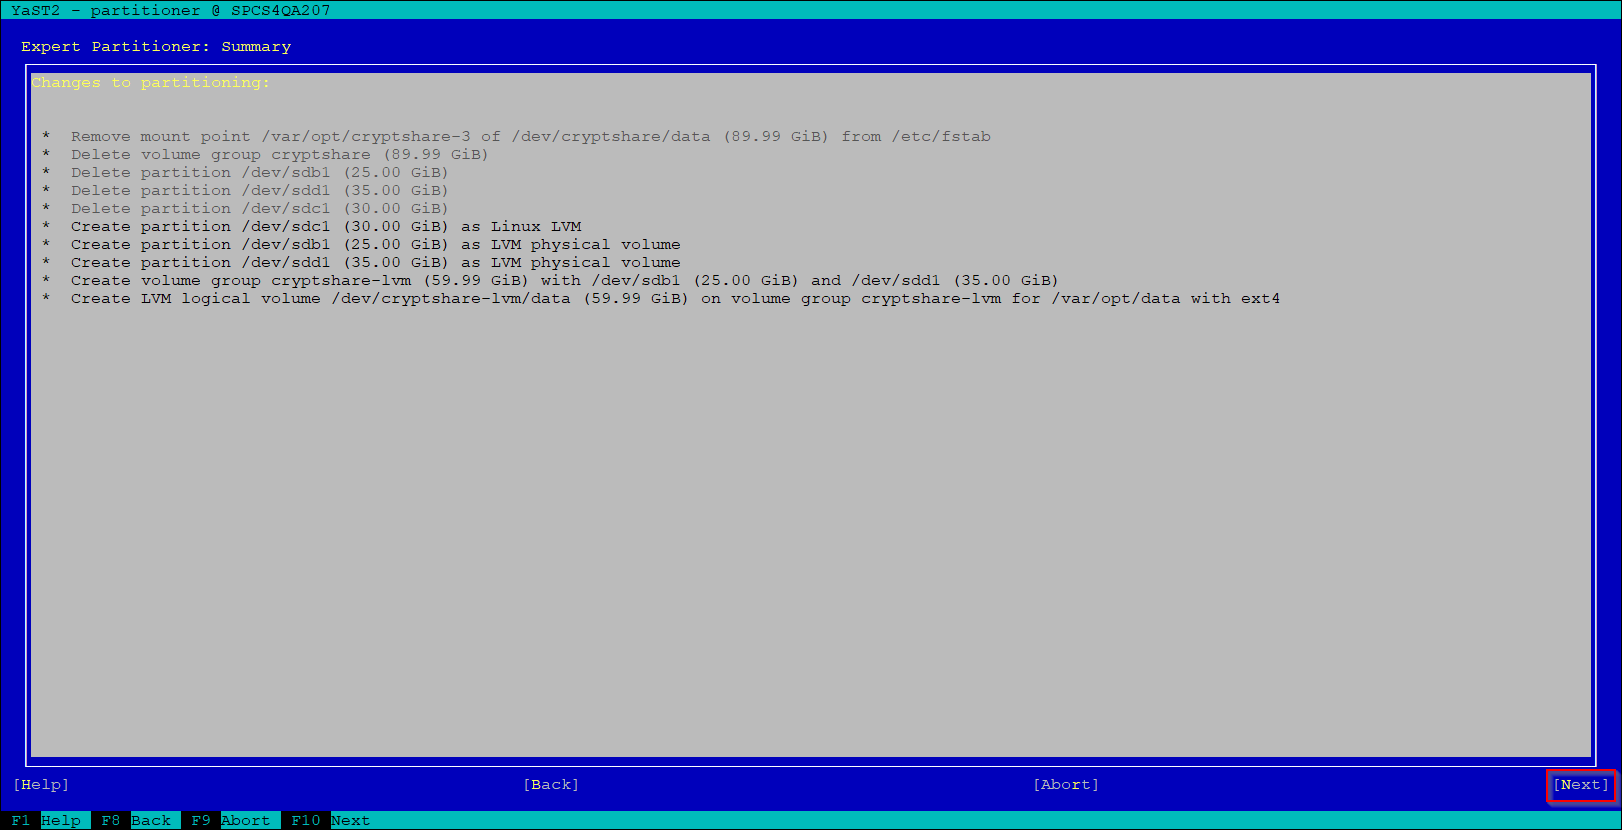
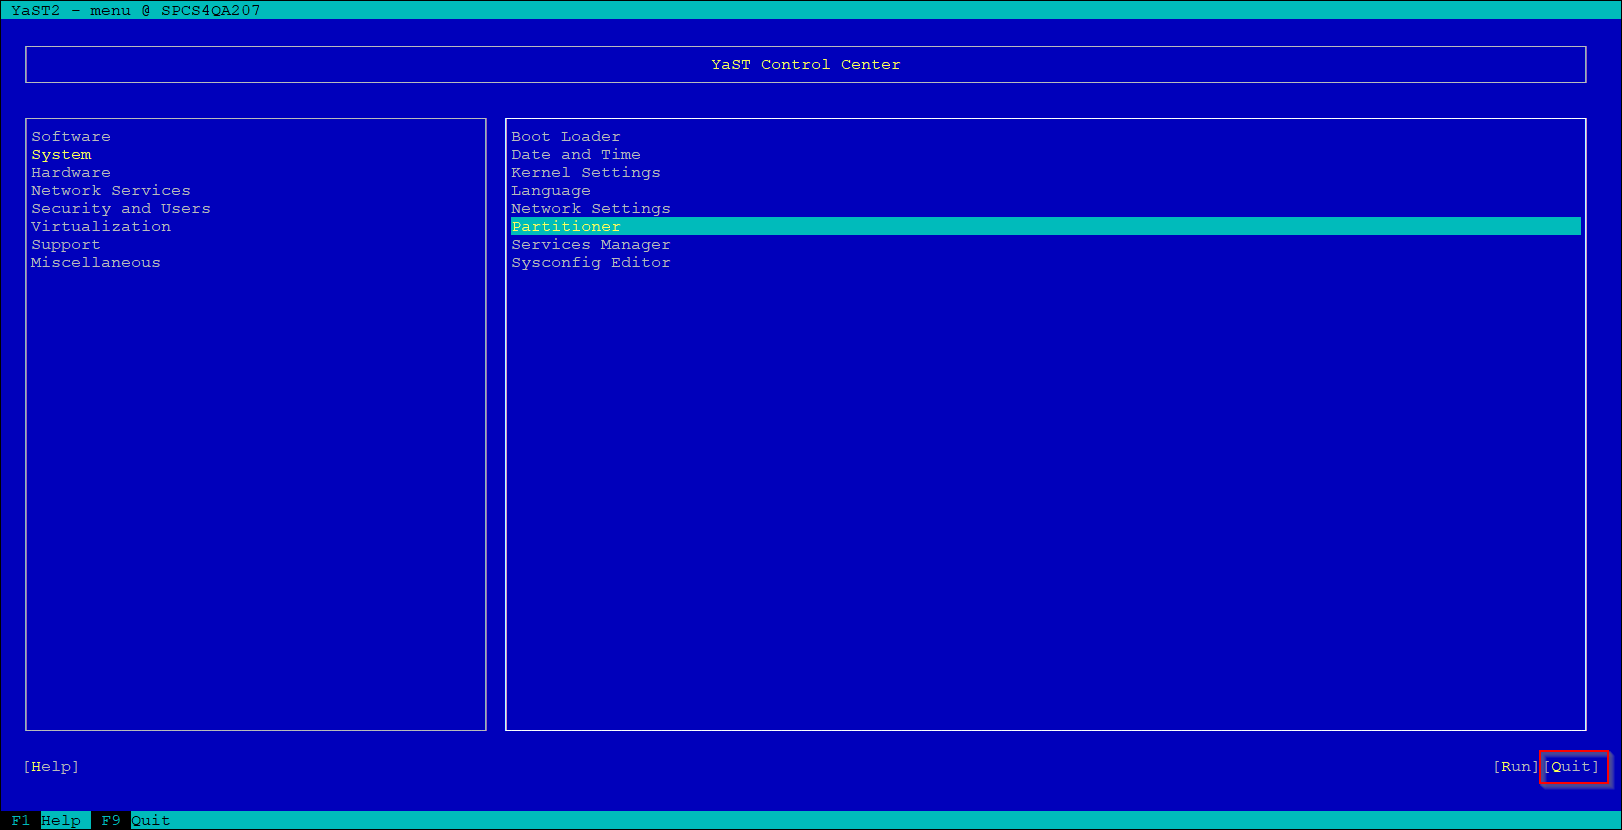
13. new volume will be mounted now | |||
[[File:74384710.png]] | [[File:74384710.png]] | ||
14. create needed folders on the new volume, e.g. uploads, backup and tmp and apply needed permissions | |||
'''mount''' | '''mount''' | ||
| Zeile 40: | Zeile 57: | ||
cryptshare:~ # mkdir /var/opt/data/tmp | cryptshare:~ # mkdir /var/opt/data/tmp | ||
cryptshare:~ # chown -R csuser:csgroup /var/opt/data | cryptshare:~ # chown -R csuser:csgroup /var/opt/data | ||
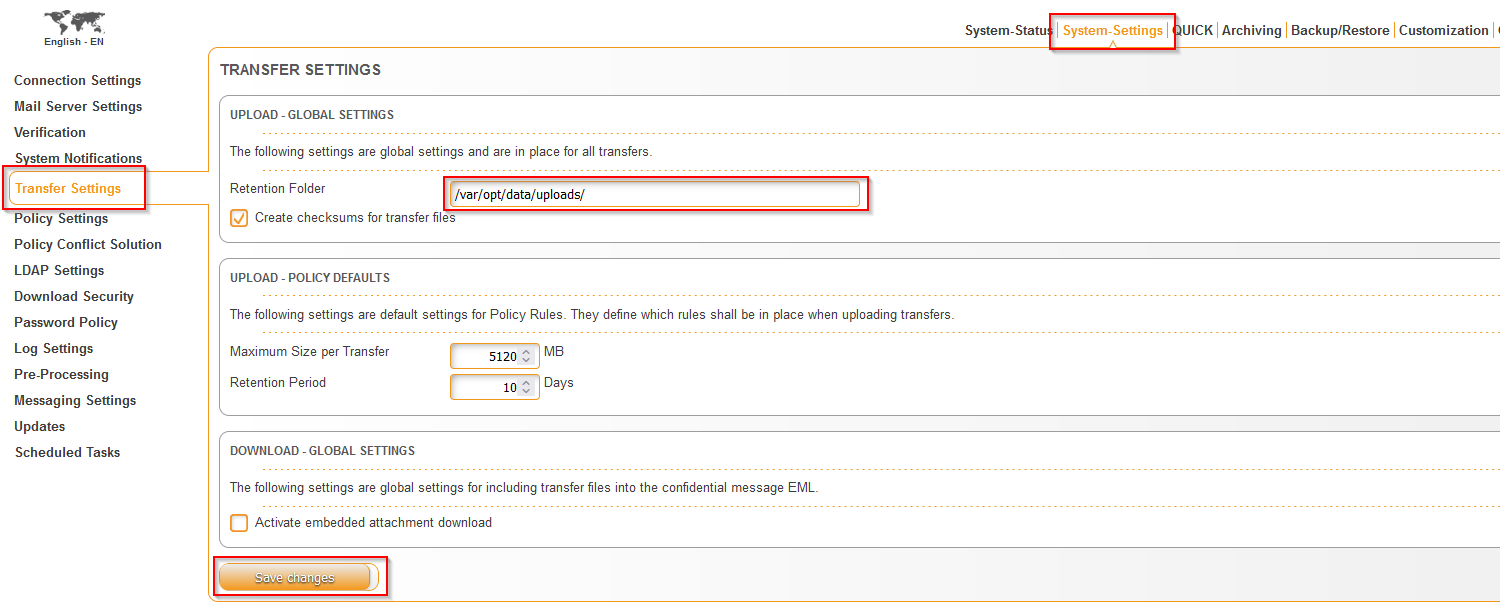
15. configure corresponding entries on Cryptshare Administration Interface | |||
[[File:74384711.png]][[File:74384712.png]] | [[File:74384711.png]][[File:74384712.png]] | ||
for configuring temp folder [ | for configuring temp folder [[CSSCurrent_en:System_Startup_Configuration|visit this page]] | ||
Aktuelle Version vom 30. Dezember 2022, 14:54 Uhr
Applies to:
Purpose:
This is an example on configuring LVM on Cryptshare Appliances
Solution:
1. log in as root on your appliance
2. run the command yast
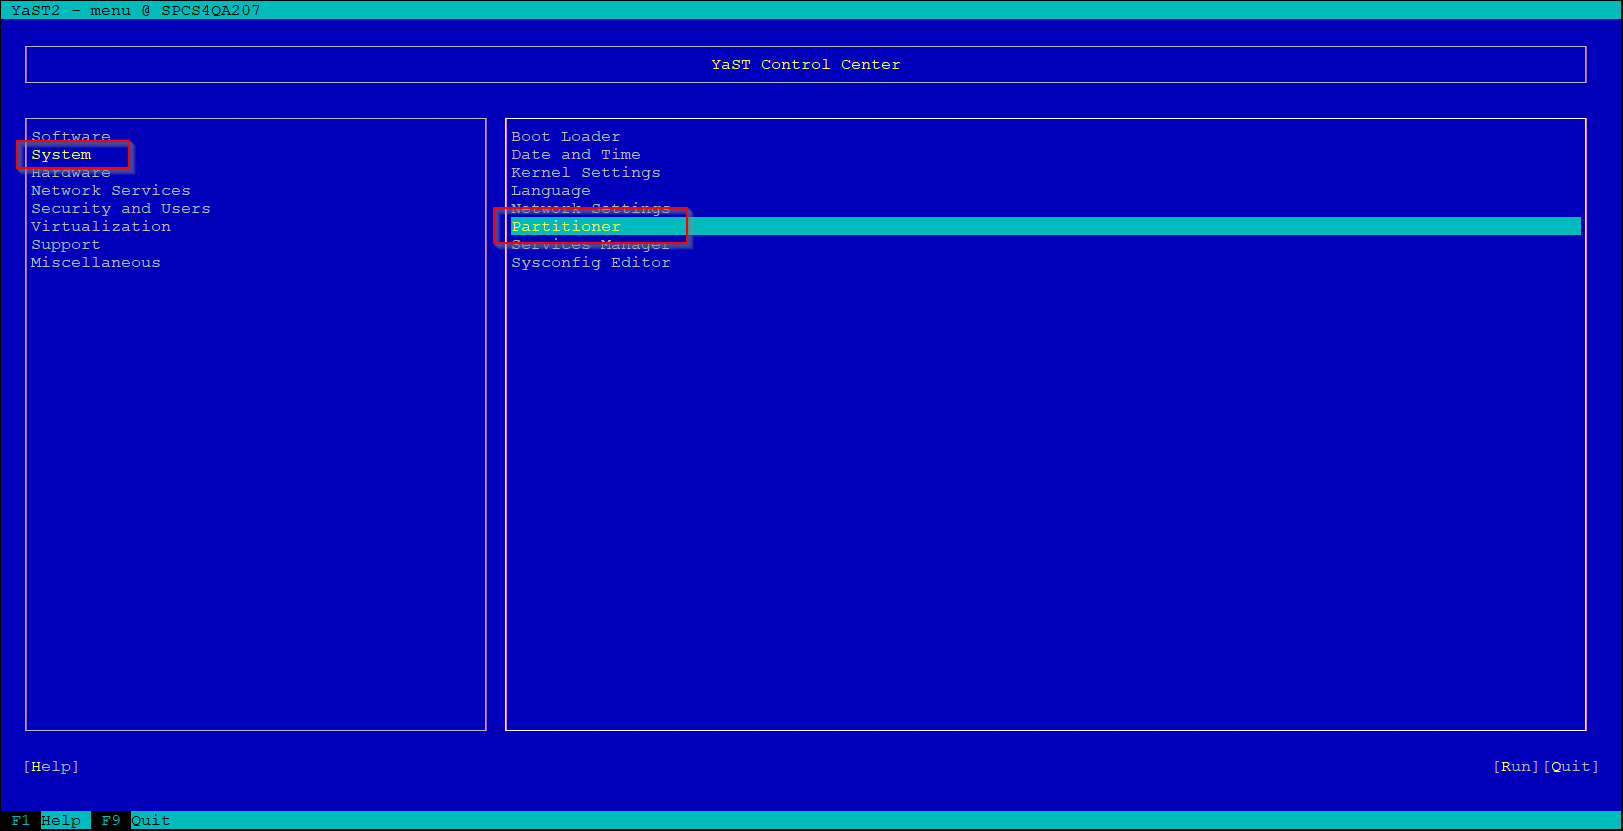
3. navigate to System → Partitioner and press Enter
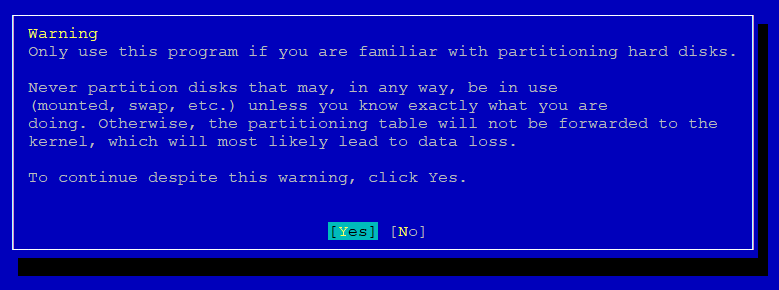
4. press Enter to agree the Warning
5. navigate to virtual disk which will be used for LVM
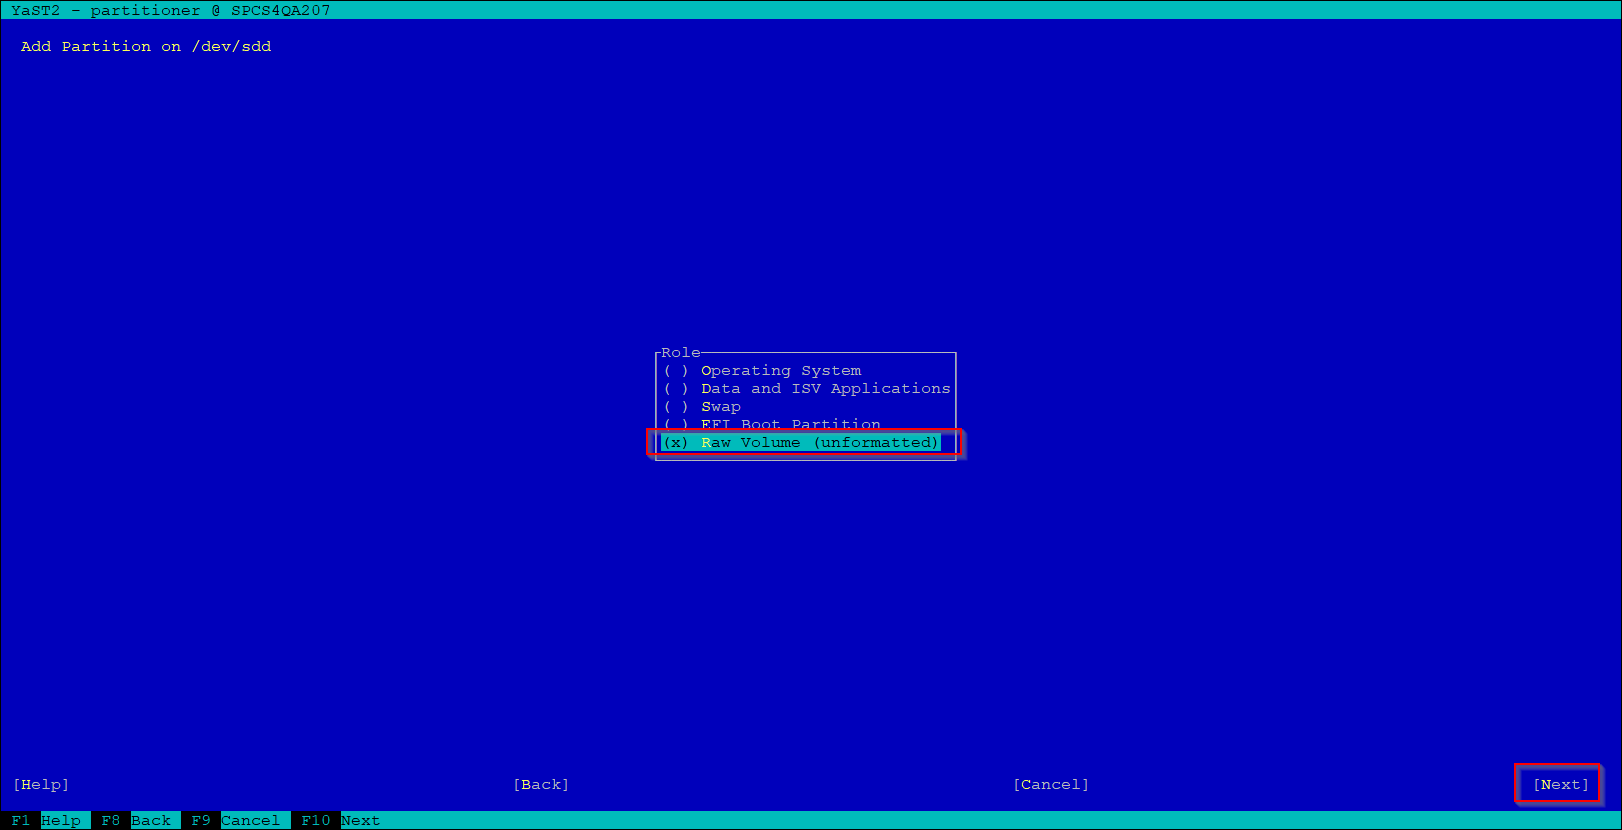
6. add new partition as Raw Volume (unformatted)
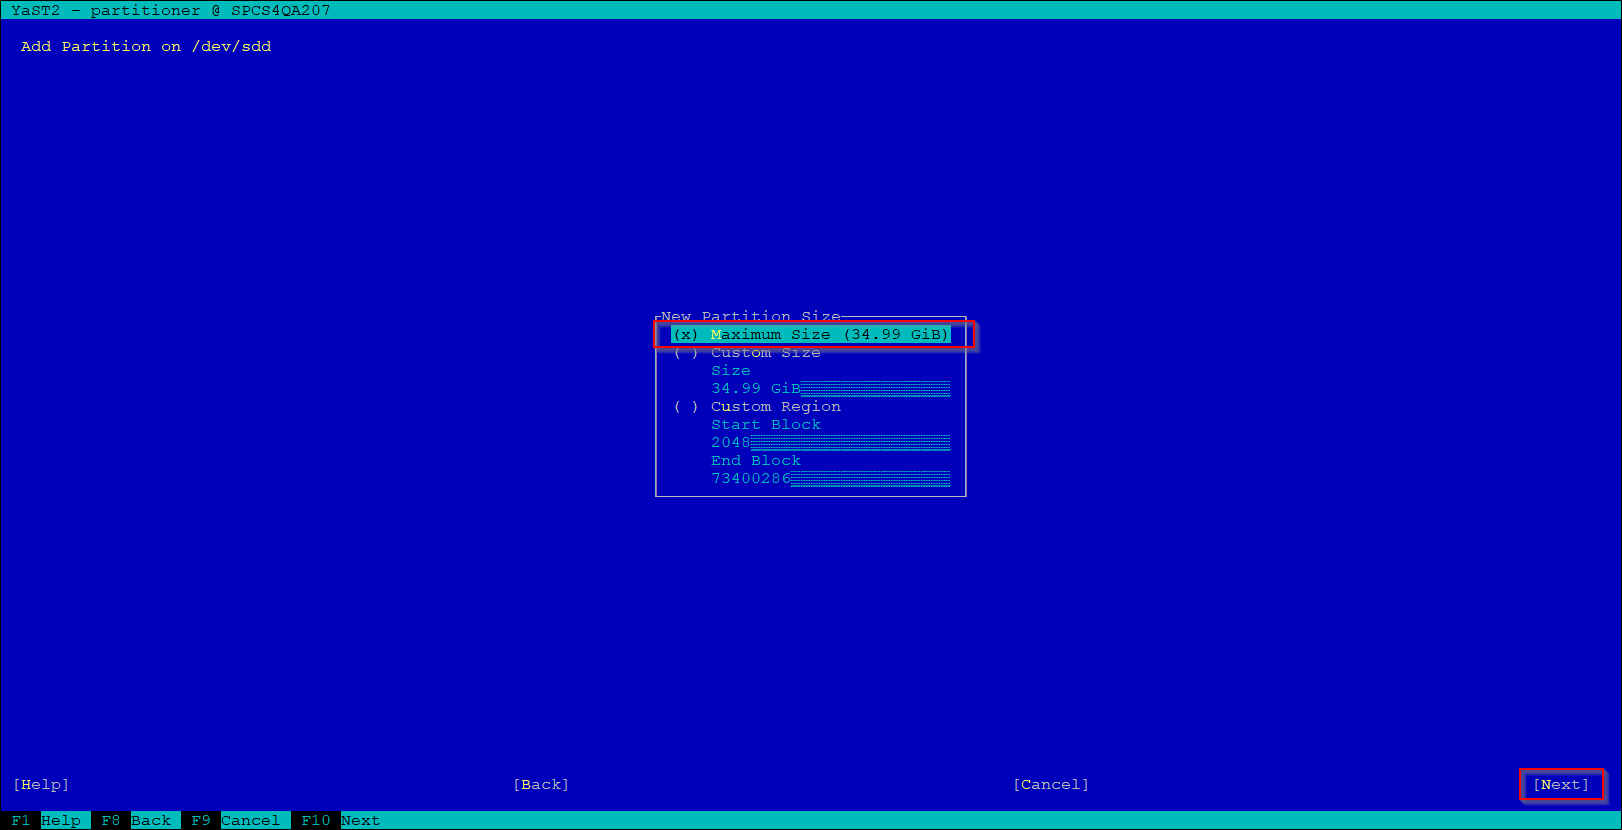
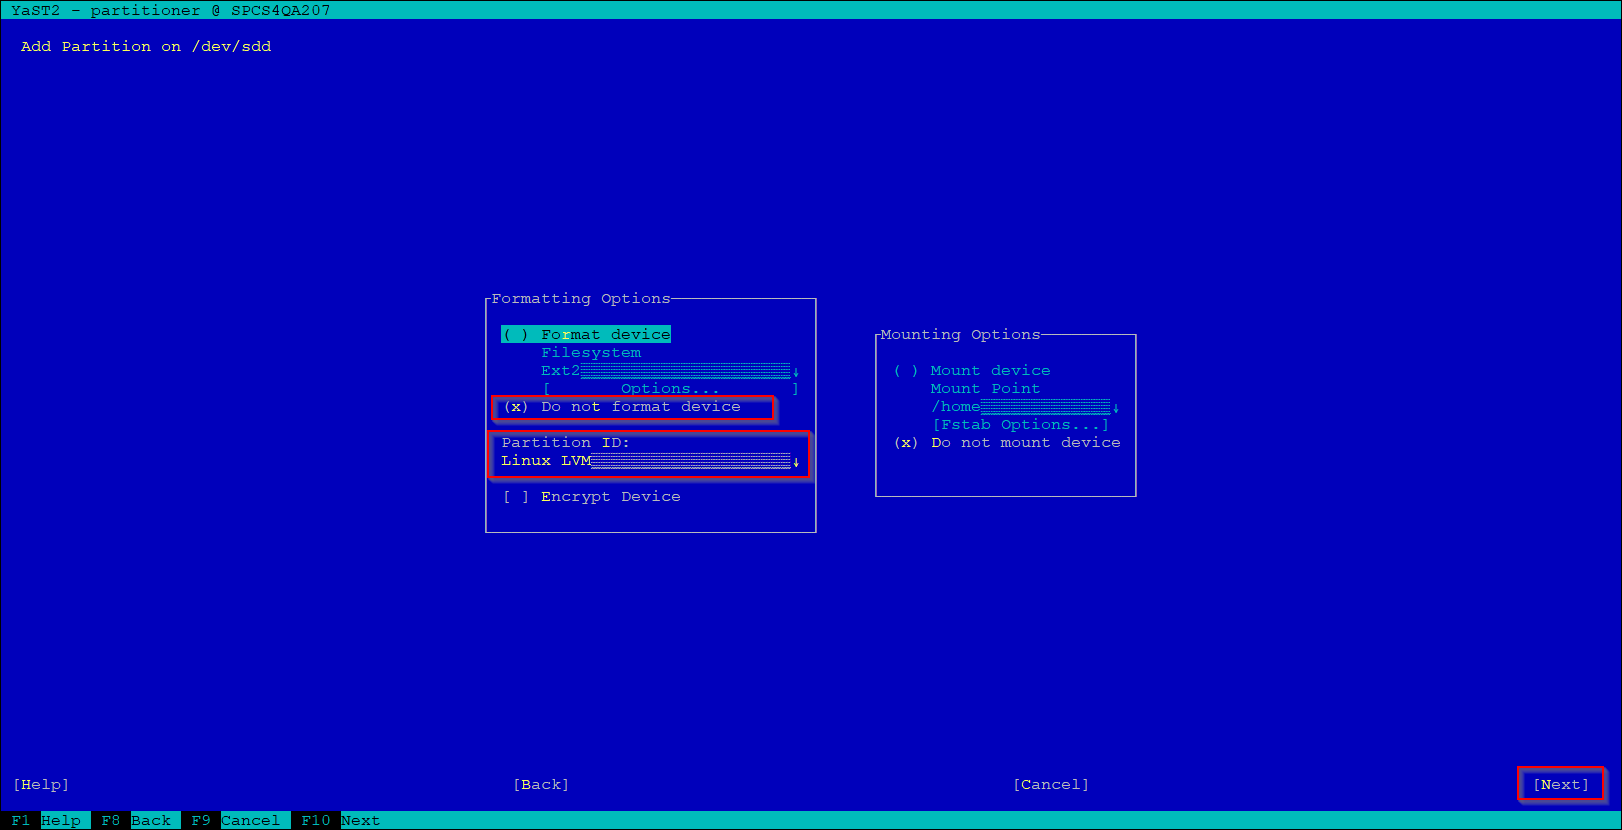
7. do not format device and select Linux LVM as Partition ID
8. repeat steps 5, 6 and 7 for all disks which will be used for LVM
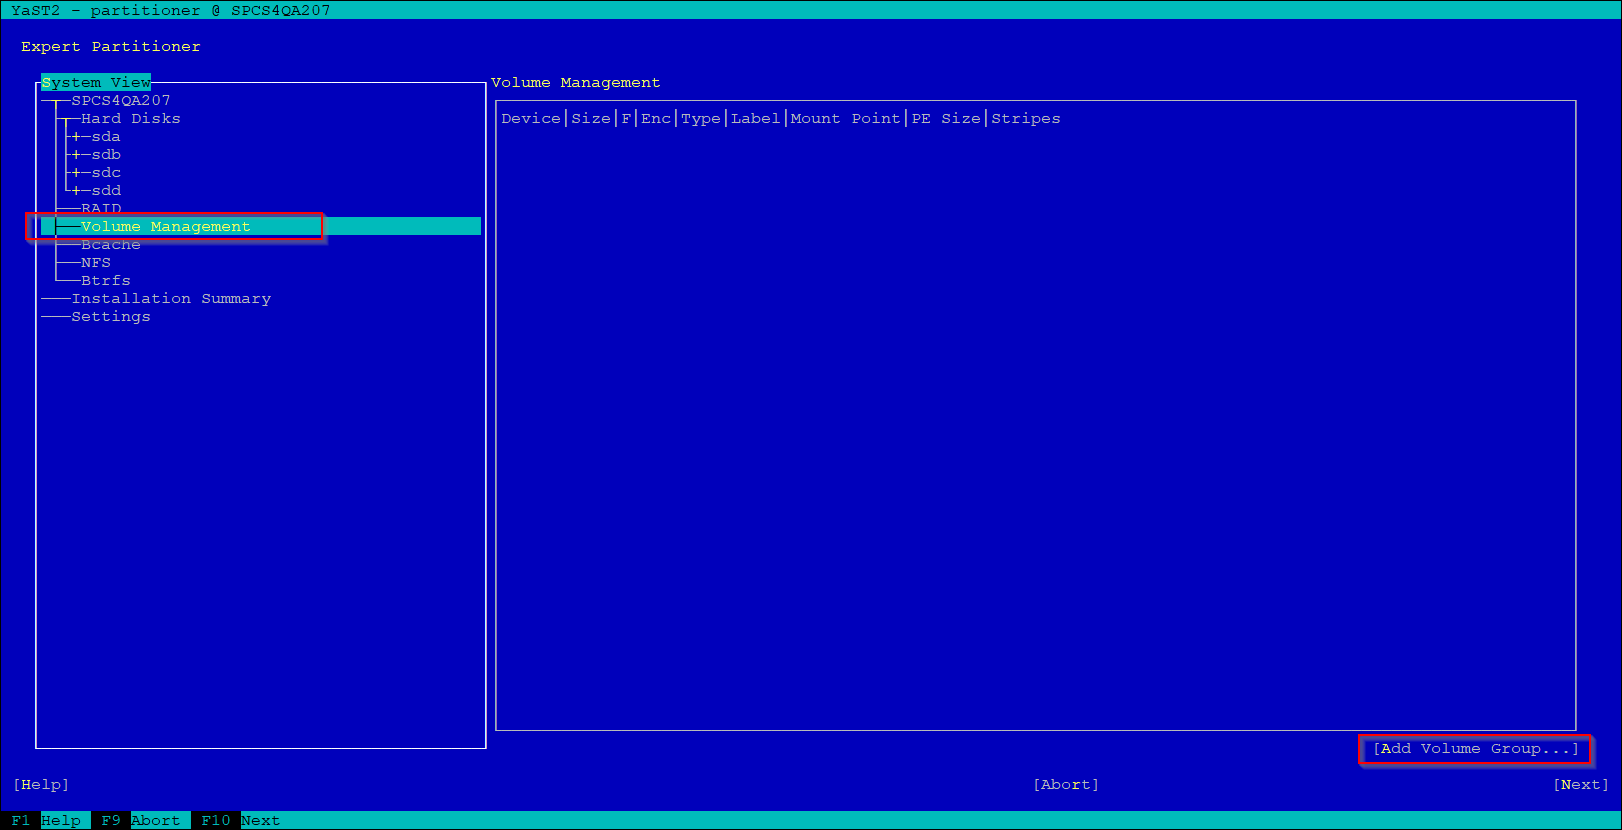
9. navigate to Volume Management and create new Volume Group
 10. enter the volume name, select and add previously configured disks
11. create new Logical Volume on the volume group
12. format the volume e.g. as EXT4 and add a mount point you prefer, e.g. /var/opt/data
13. new volume will be mounted now
14. create needed folders on the new volume, e.g. uploads, backup and tmp and apply needed permissions
mount

cryptshare:~ # mkdir /var/opt/data/uploads
cryptshare:~ # mkdir /var/opt/data/backup
cryptshare:~ # mkdir /var/opt/data/tmp
cryptshare:~ # chown -R csuser:csgroup /var/opt/data
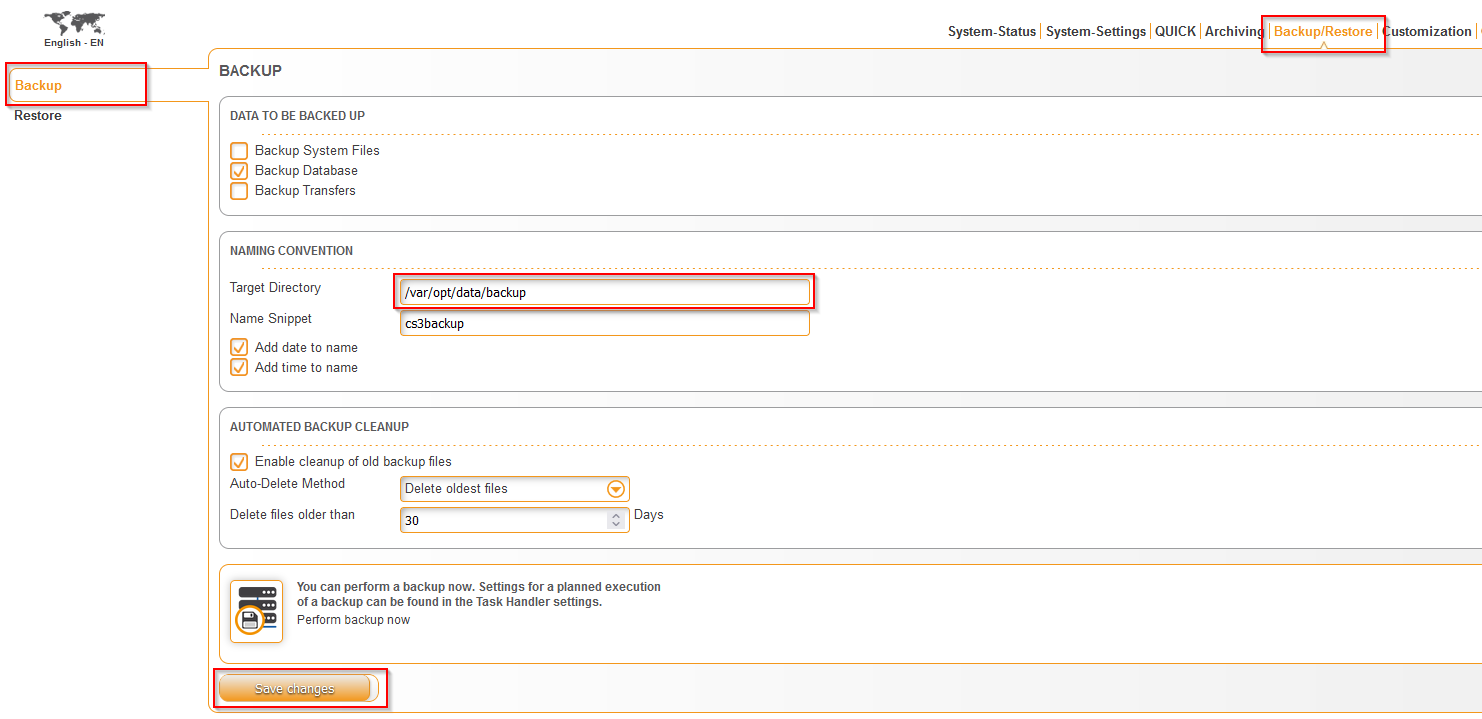
15. configure corresponding entries on Cryptshare Administration Interface
for configuring temp folder visit this page
