CSNCurrent en:Procedure for using the focus colour in the input fields of the HCL Standard email
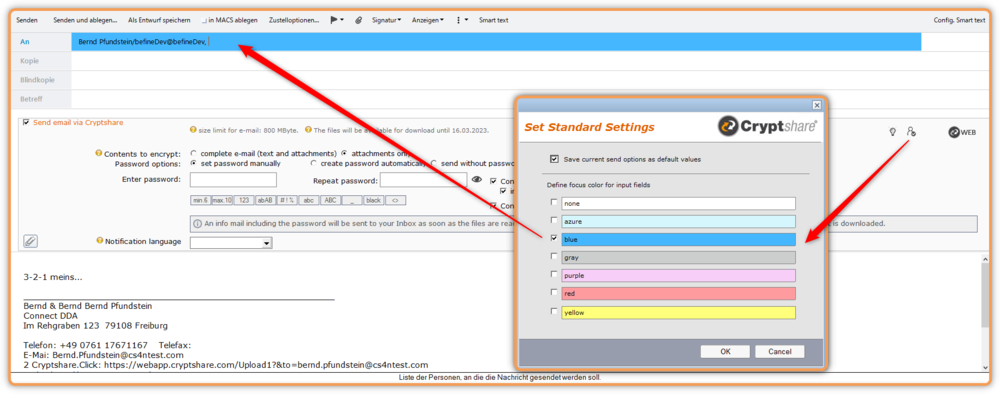
It is possible to use the focus background colors in the input springs, which can be individually set in Cryptshare for Notes, for the standard e-mail input fields of the memo mask. This ensures an optically uniform display in combination with the CS4N integration.
Technical integration
The following steps describe the procedure for making the focus color also usable for the input fields from the HCL email template.
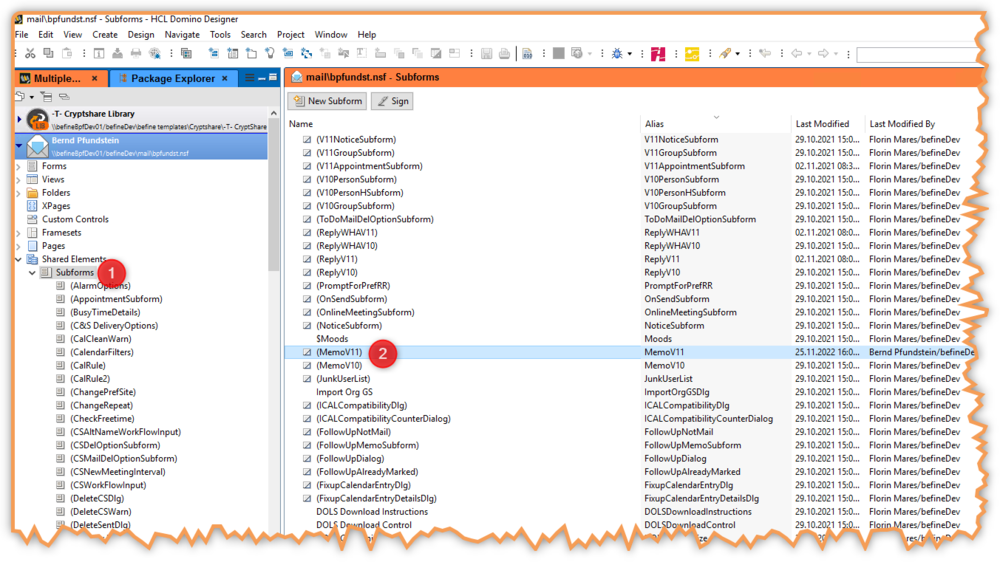
1. Open your e-mail template in Notes Designer
The procedure for using the MemoV11 sub-mask is described in this description. Alternatively, this also applies to the MemoV10 sub-mask.
Then open the e-mail subform for Notes version 11
1. Deposit source code
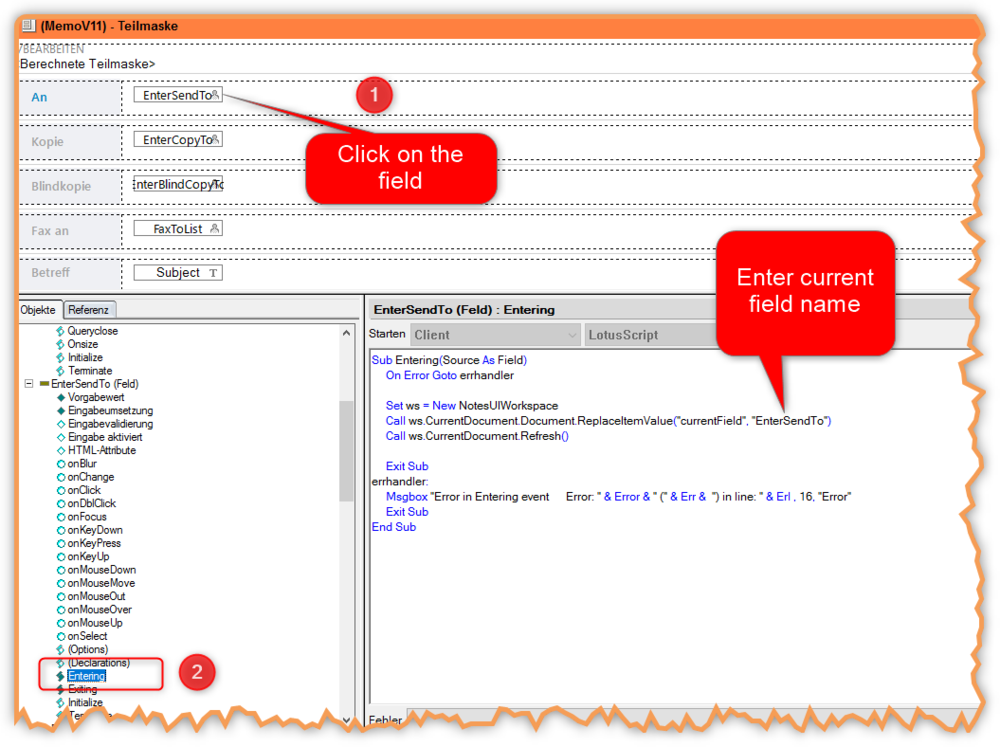
Follow the steps explained below for all four fields (EnterSendTo, EnterCopyTo, EnterBlindCopyTo, Subject)
Store source code in the "Entering" event.
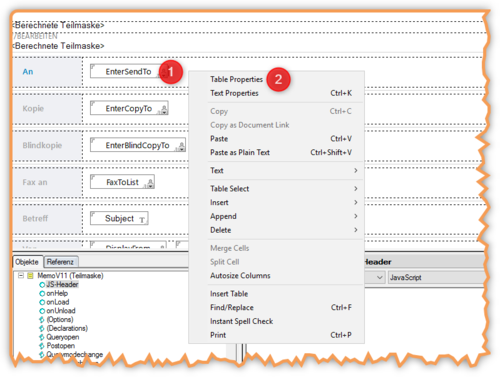
(1) Click the "EnterSendTo"
(2) Select the "Entering" property of the field.
(3) Insert the required source code. It should be noted here that the name of the current field is inserted in the source text "xxxxx". E.g.: "EnterSendTo"
Set ws = New NotesUIWorkspace
Call ws.CurrentDocument.Document.ReplaceItemValue("currentField", "xxxxx")
Call ws.CurrentDocument.Refresh()
Exit Sub
errhandler:
Msgbox "Error in Entering event Error: " & Error & " (" & Err & ") in line: " & Erl , 16, "Error"
Exit SubStore source code in the "Exiting" event.
(1) Select the "Exiting" property of the field.
(2) Insert the required source code. Note: It is not necessary to enter a field name.
Set ws = New NotesUIWorkspace
Call ws.CurrentDocument.Document.ReplaceItemValue("currentField", "")
Call ws.CurrentDocument.Refresh()
Exit Sub
errhandler:
Msgbox "Error in Exiting event Error: " & Error & " (" & Err & ") in line: " & Erl , 16, "Error"
Exit Sub2. Change field properties
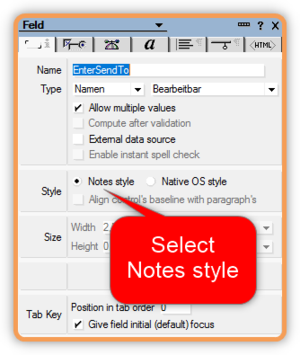
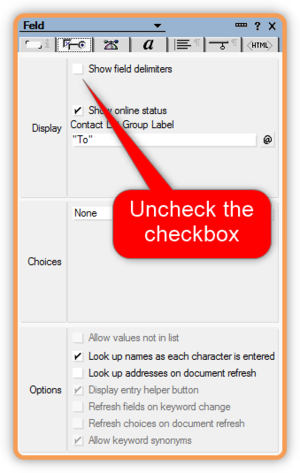
(1) Double click on the field
(2) Change the style of the field to "Notes".
Then, on the second tab, uncheck the "Show field separators" box.
3. Change table property
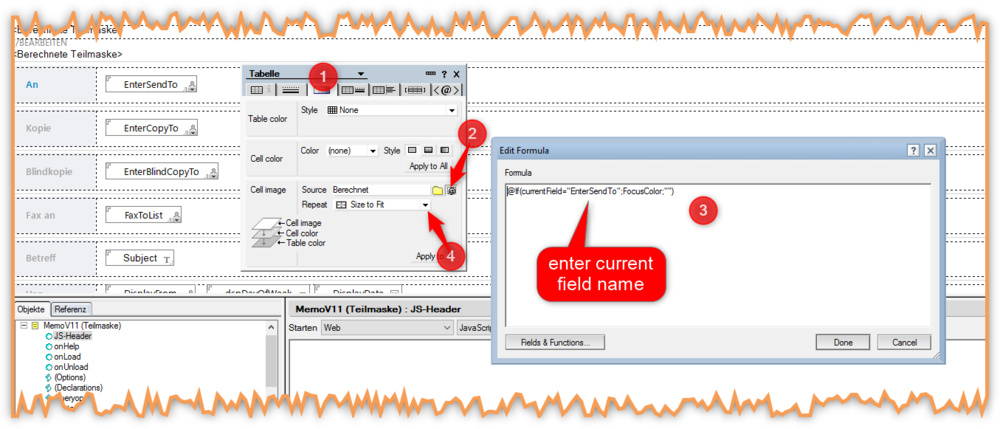
Right-click in the table element that contains the field you just edited to open the table properties dialog.
Make the following changes:
(1) Click on the third tab
(2) Click on the @ symbol
(3) In the formula field, paste the macro code and customize the field name. E.g.: "EnterSendTo"
(4) Close the dialog with "Done"
(5) In the cell image property, select "Resize" from the "Repeat" selection.
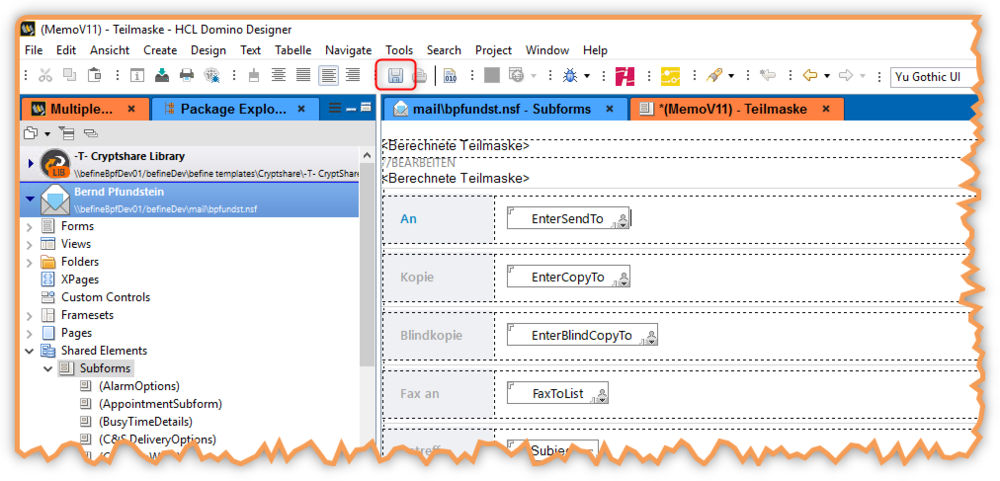
After all fields have been adjusted, save the subform mask.
